Starting point for this tutorial.
In this tutorial we'll introduce Moho's "style" feature. A style in Moho is a set of shape properties, including fill and line color, line width, fill effects, etc. Once you've defined a style, you can apply it to as many shapes as you wish. The benefit to this is that later on you can easily change the color and appearance of those shapes just by changing a single style.
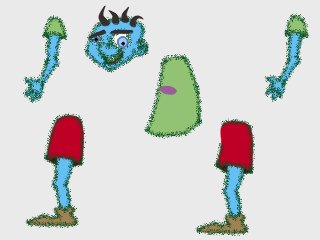
To start off, we'll take a look at a Moho file that already contains some styles. It's named "Tutorial 2.7" and it's located in the "Tutorials/2 - Drawing" subfolder within the main Moho folder. Open this file in Moho, and you should see something like this:
Starting point for this tutorial.
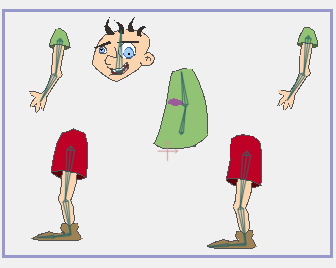
(Don't worry that the character is all split apart. This is part of the bone setup described in another tutorial. If you want to try switching to frame 1, you'll see that the character snaps back together. Just be sure to go back to frame 0 before continuing.)
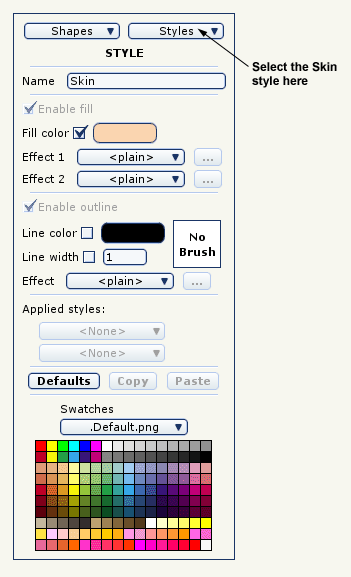
Let's see what a style is all about. In the Style window, select "Skin" from the Styles popup menu. The Skin style will become selected in the Style window:
The skin style selected.
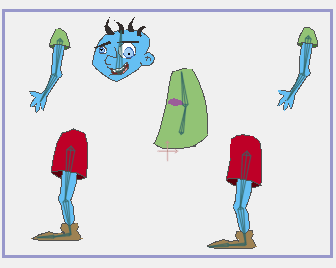
Click the "Fill color" color selector to change the Skin fill color. Pick any color you wish. Notice that the skin color updates instantly on all the body parts of the character, even though they are separate shapes and in several separate layers. Styles can be used throughout an entire Moho project, and are not limited to the shapes in a single layer.
Modified skin color.
If we look at the Style window, there are three things to notice about the Skin style:
Skin style settings.
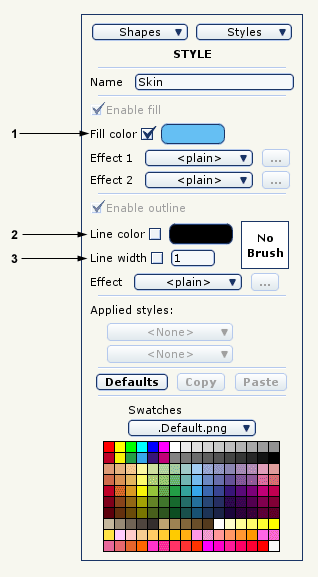
1: The Skin style defines a fill color. 2: The Skin style does not define a line color. 3: The Skin style does not define a line width. Because the Skin style does not define a line color or width, changing these parameters will not affect the shapes that use this style.
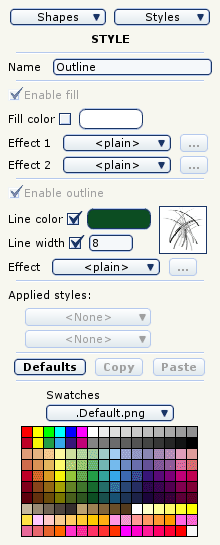
Let's try a style that does control the properties of a line. Select the Outline style from the Styles popup menu in the Style window. Notice that this style does define a line color and width, but does not define a fill color. Try modifying the line color and width to those shown below, and assign a brush to the line:
Modified Outline style.
The line color and width will be immediately visible in the editing window, but you won't see the brush effect until you render a sample frame. Notice that the Outline style has been applied to all the shapes in the entire character. Regardless of their other settings (like fill color), all the shapes use the Outline style to draw their outlines:
Rendered Outline style.
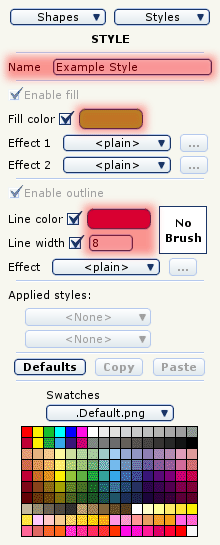
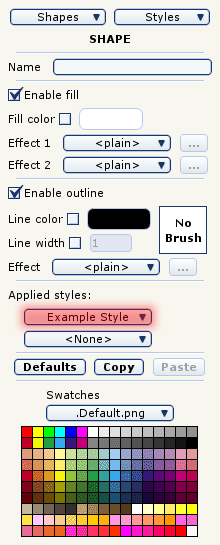
Now let's take a look at how styles are created and applied. Create a new Moho project file. In the Style window, select New from the Styles popup menu. The Style window will now be editing the values for that style. Give the style a name (any name), and choose a fill and line color. Finally, set the line width to 8 or so. If you want to, you can also assign a brush and fill and line effects.
Creating a new style.
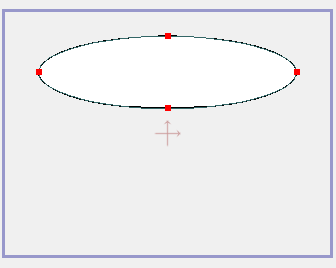
Next, create a simple shape in the main window - a circle, rectangle, or text object would be fine. Make sure that the shape is filled. At this point, the shape should have the default fill and line color, which are usually white and black:
Create a simple shape.

Now use the Select Shape tool to click on your new shape to select it. The Style window will update itself to show you the properties of your shape. In the "Applied styles" section of the Style window, select your style from the first popup menu. This tells Moho to apply that style to the currently selected shape - you should see the properties of your style applied immediately in Moho's editing view.
Applying a style to a shape.
That's it! As you've seen, it's quite easy to create and apply styles in Moho.